Notebooks
Notebooks are a top level frame, like reports or spreadsheets, that enable floating content over multiple pages.
Notebooks have all regular Blockpad features, like equations, text, drawings, and tables, but these objects are "floating" by default.
Notebooks in a file
Like reports, spreadsheets, and drawings, notebooks are a type of top level frame.
So, you can have multiple notebook frames in a file in the same way you can have multiple sheets in a conventional spreadsheet.
Insert a new notebook into a file:
- Click the insert button.
- Select Notebook.
- Click OK.
Or:
- Hover over the list of top level frames on the left side of the window.
- Click the plus sign that appears.
- Select Notebook.
Reference values from other top level frames
Just like other top level frames, you can reference a value in another frame from a notebook frame, and vice versa.
Reference a value from another top level frame:
- Start a dynamic equation.
- With the equation open, navigate to the value and click it.
- Finish the formula and press enter.
You can also use the copy reference tool.
Working in a notebook
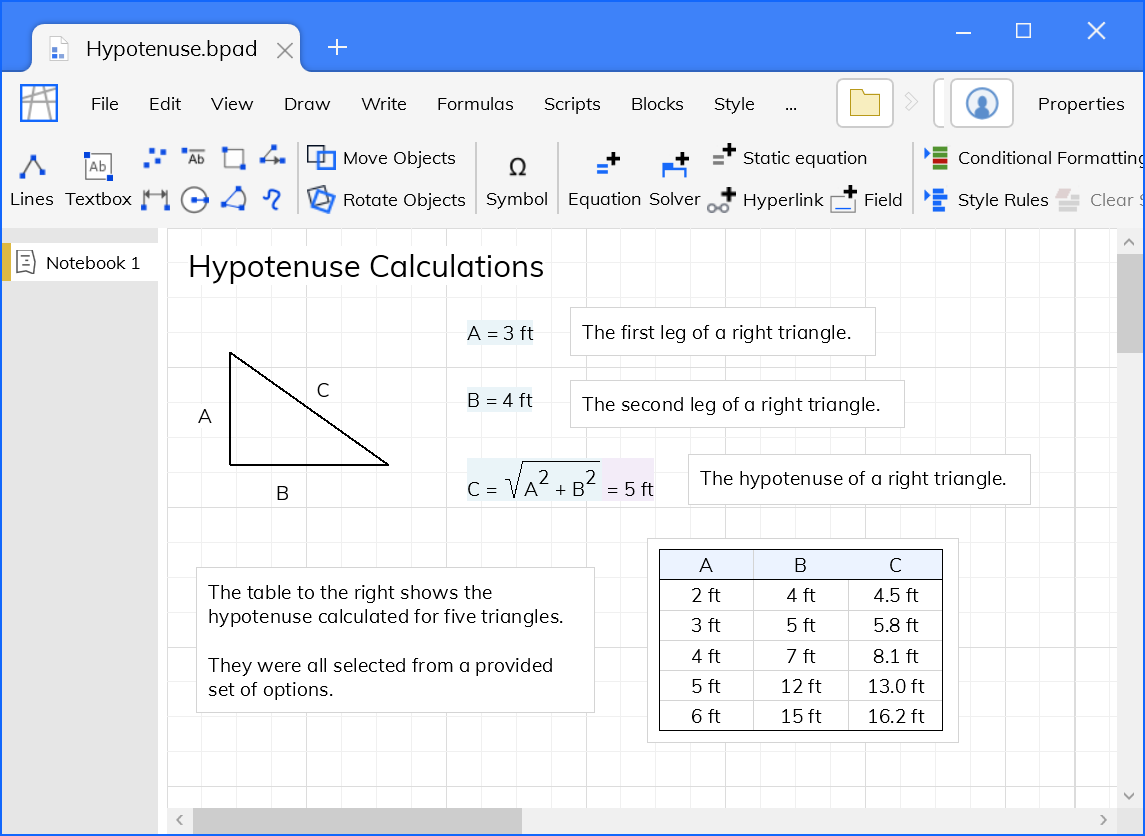
Working in a notebook is a lot like working in a report or drawing, but with some differences.
The most notable characteristic is the floating cursor. Whenever you click somewhere empty in a notebook, the cursor moves to that location.
From that, either a floating equation or a textbox can be automatically inserted by pressing the equals sign or other text, respectively.
Floating equations
When you press an equals sign, an equation is inserted at the cursor location.
These behave the exact same as normal dynamic equations, except that they can be moved around like a drawing object.
Textboxes
When you start typing, a textbox is inserted at the cursor location.
These textboxes work exactly like a drawing textbox, so you can do everything you can do in a report, including equations, tables, sections, and subframe drawings.
Drawings
All of the drawing tools are available and visible in the toolbar.
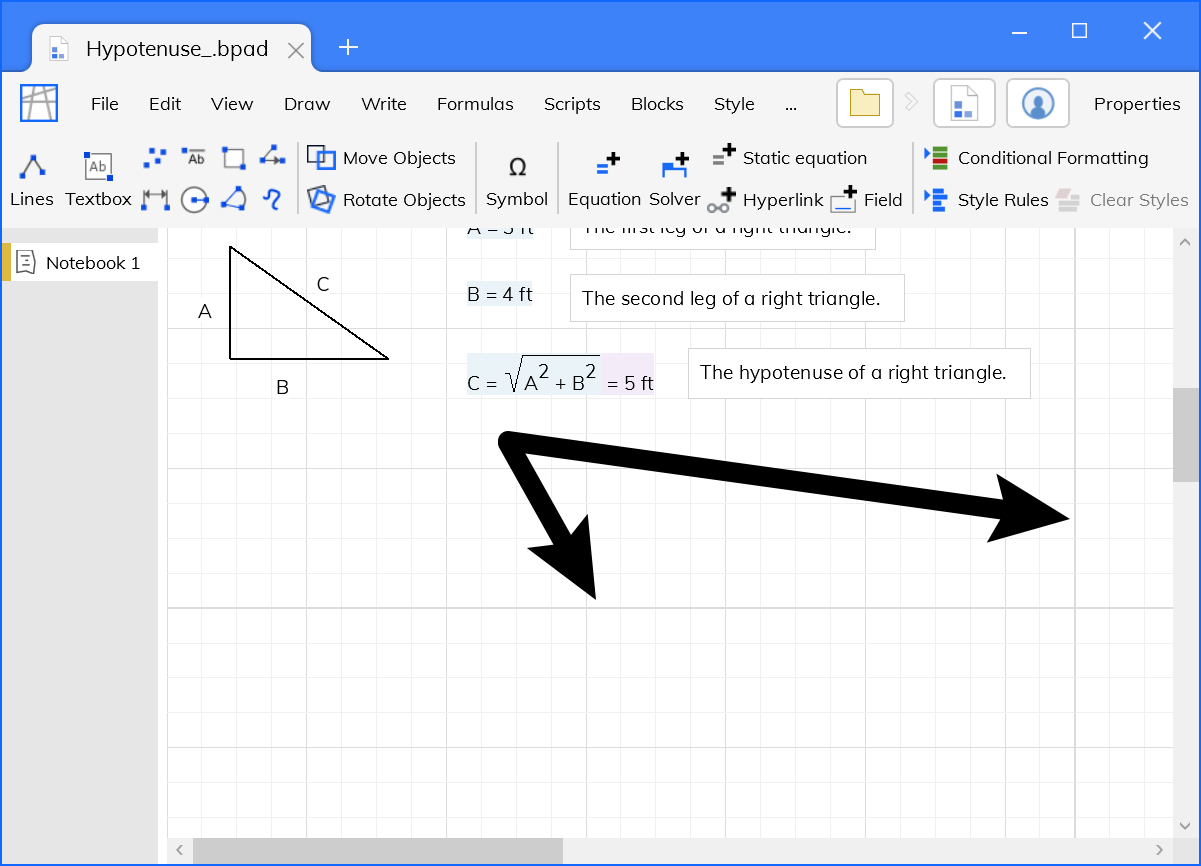
Arranging content
Everything in a notebook is placed "over the page". Unless objects are in a textbox together, they will not automatically move together.
To move multiple things at the same time, they must be all selected by using ctrl+click or by dragging the cursor, like in a drawing.
Other objects
Other non-drawing Blockpad objects like tables, sections, fields, or blocks can be inserted in a notebook, but they will be "wrapped" in a textbox.
Whenever you use an insert button on the toolbar, that thing will be inserted with a textbox automatically wrapped around it.
Dropdown lists
When you need a dropdown in a report, you need to use a field. You can also use a field in a notebook, but it needs to be inside of a textbox.
Alternatively, you can use a text label, which acts similar to a field.
To do so, insert a text label as described in the drawings deep dive, then follow the directions for creating a dropdown using a field.
Notebook pages
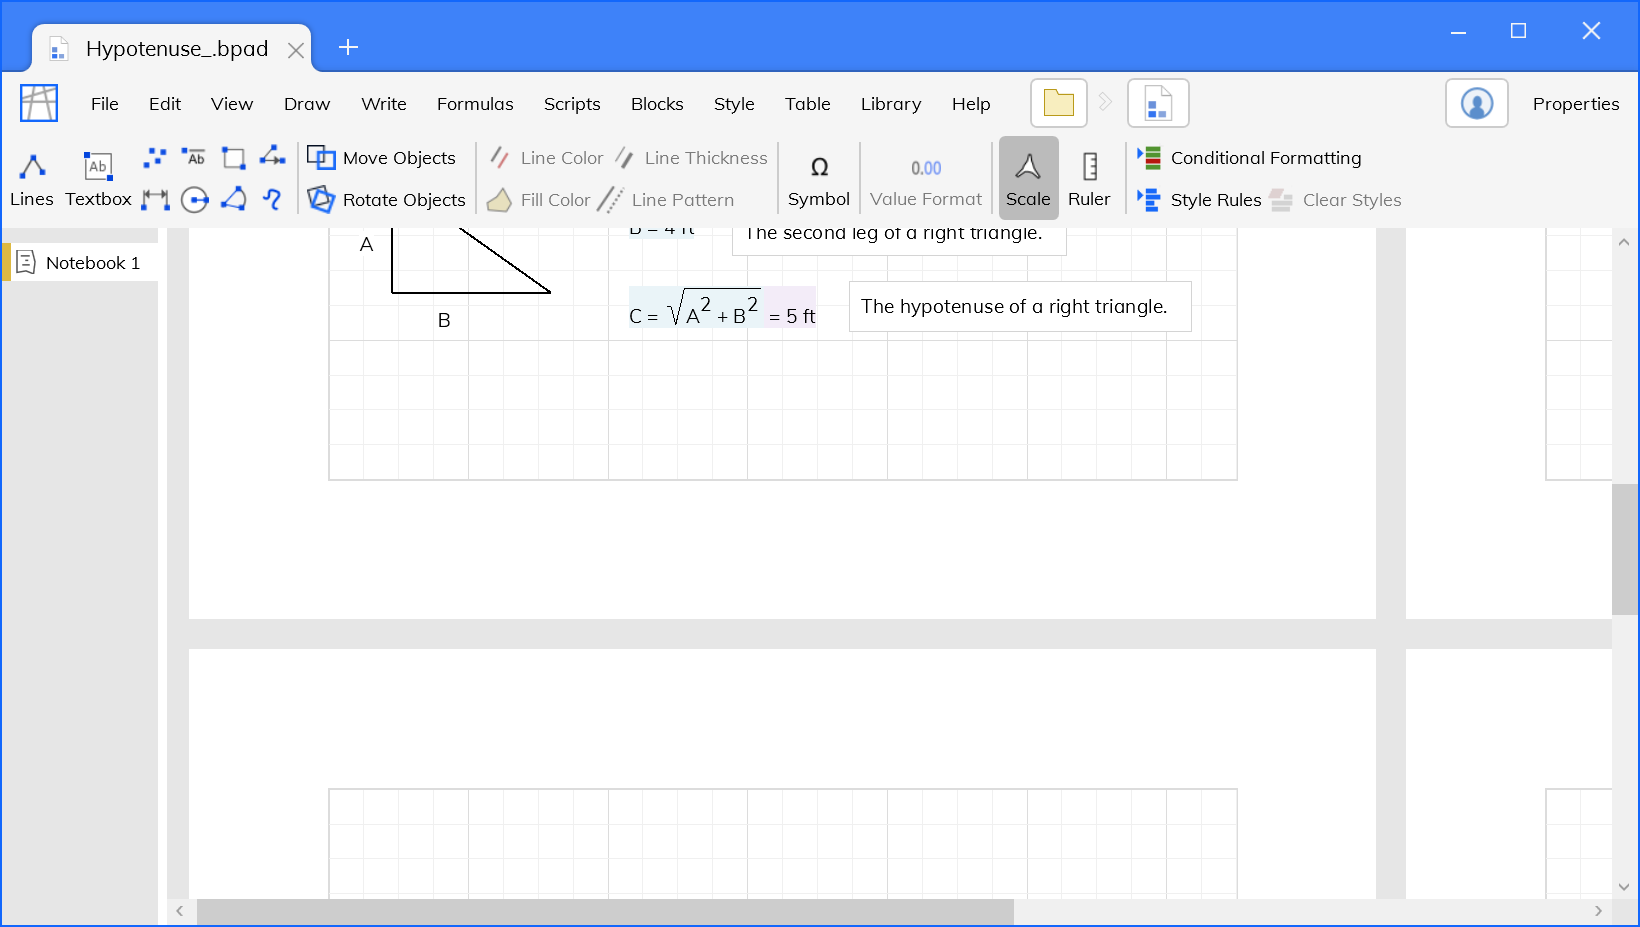
Notebooks are split into multiple pages, expanding down and to the right.
In the default view, a dark grey line marks where the pages are separated.
You can change the default view to see the pages separately (like in a "print preview" mode) by turning Collapse Margins off.
View notebook pages separately:
- Toggle View>Collapse Margins in the toolbar.
Header footer
Notebooks have the same header and footer options as reports.
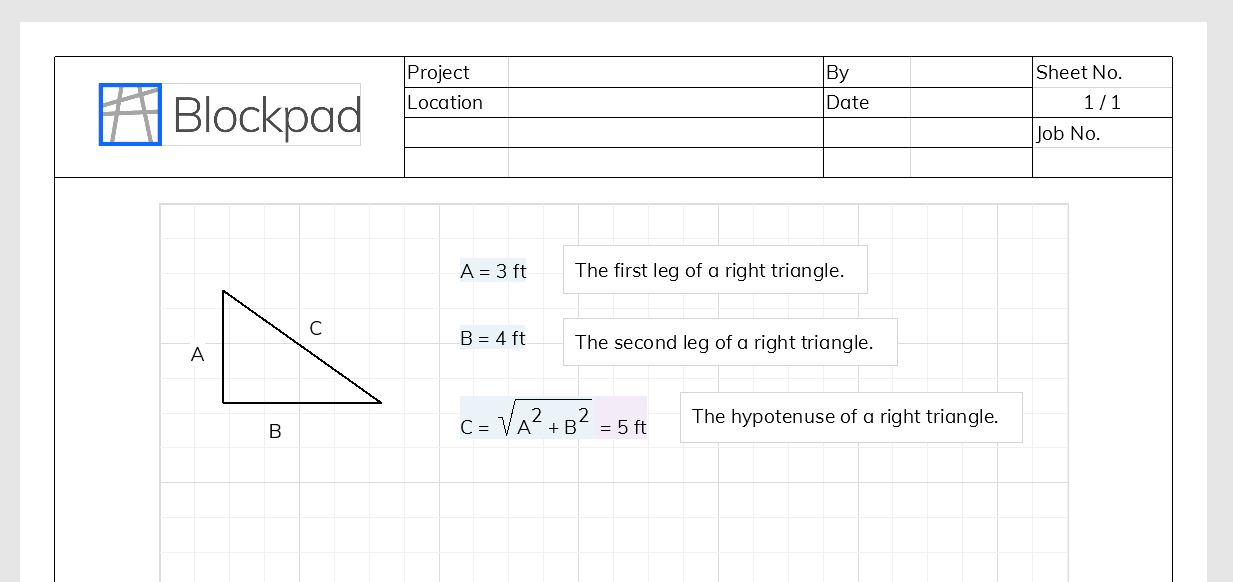
To view and edit the header, Collapse Margins needs to be turned off.
Printing
At the moment, the Save to PDF tool needs to be used for notebooks, not the regular print tool.
To print, first print a pdf by selecting File>Save to PDF, then print that pdf.